|
10/26/2019 A Minor, Expensive Service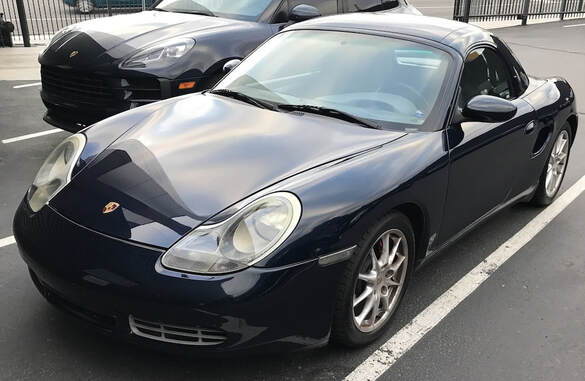 Dropped my 986 off for the repair, the rims are dirty, but paint still looks amazing after the recent detail. 10/4/2019 Quick Winter Prep DetailI don't have as much free time as I did two years ago when I got into detailing, but I decided my 986 needed some love this weekend. I started by rinsing the entire car, then spraying it with foam to lubricate everything. I used Optimum car wash with a tiny bit of Dawn added because it makes it foam a lot better. I then used two buckets, one to clean the wash mitts and one with soap. I use two mitts one for the upper panels and one for the lower panels.
After scrubbing the car while cleaning the wash mitts frequently, I rinsed the car again and then dried it with microfiber towels. I normally only do one swipe per side of the towel, so each towel folded into fourths is 8 swipes total. I then let my soft top dry and cleaned the rear window with Plexus (I'm still amazed by how well Plexus works). I then heated up the plastic window with a hair dryer and folded it into the closed position with fleece in between the plastic to keep it from scratching itself. I haven't used the hair dryer trick before, but it worked very well (and quickly) to make the plastic window flexible enough to be folded without worrying about it cracking, which can happen if it is folded below 70° F. I then cleaned the A-Pillar and clamshell with some quick wax, to prep it for the hardtop. I reinstalled the hardtop, but had a new issue. The defroster plug by the driver's seatbelt was missing. I ended up pulling off the panel that covers the seat belt, which is only held on by one screw and two clips, and reattaching the plug to the trim piece (as it should be) with zip ties. I reinstalled the trim and plugged in the defroster for the hardtop. I plan to put a coat of sealant then a coat of wax on tomorrow, and clean and condition the interior/leather. |
Disclaimer
This website is a personal project, and any information contained on this website should be independently verified. I accept no liability and/or responsibility for the accuracy of any information on this website, and/or any damage you incur from reading or following any of the information on this website. This website contains documentation of my own modifications, upgrades, and other work, however your results may differ. I encourage everyone to do their own research and verify any information themselves. This website may be directly linked to without specific permission, but the contents may not be copied, hosted, transmitted, etc in any medium without express permission. Thank you! |
 RSS Feed
